Stitch in the Ditch vs Outline Quilting

Using the correct terminology is very helpful when communicating the design and style of quilting you would like on your quilt. It can be intimidating to approach a longarm quilter that appears to be an expert in everything quilt related. Today I would like to clarity one aspect of quilting in order to give both longarm quilters and their clients more confidence when communicating with each other. 

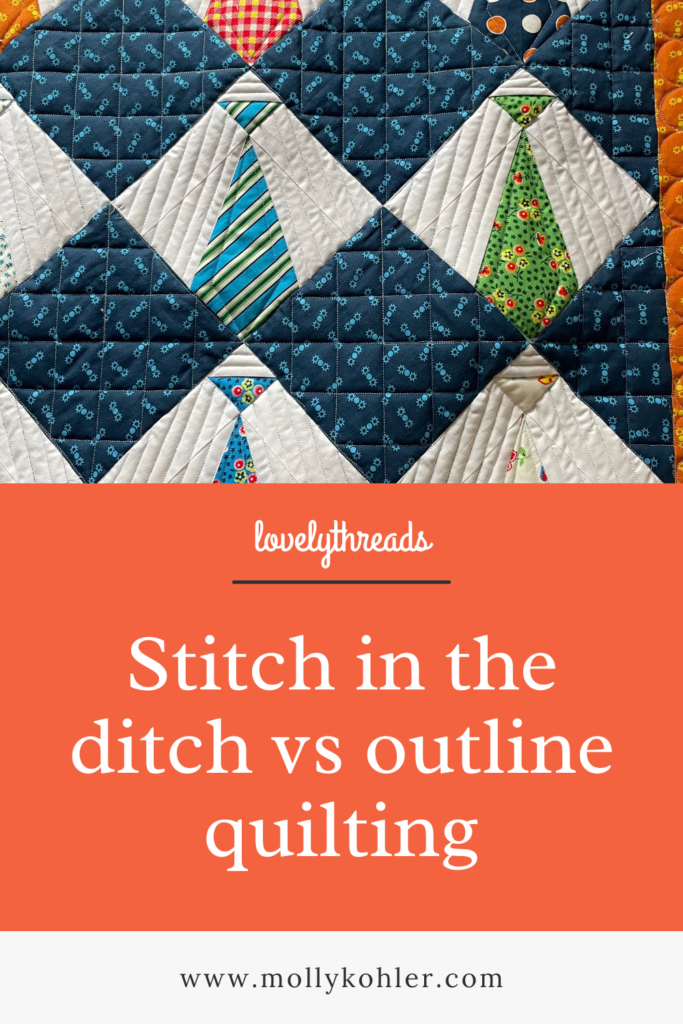
You may have heard the term “stitch in the ditch “before, and maybe you haven’t. Trust me, I have never seen a quilter sitting in a ditch stitching away on a project. Let’s go ahead and giggle at the imagery and move on to the real meaning. To “stitch in the ditch” is to quilt a line of stitching exactly on a seam, or exactly where two pieces of fabric meet. You have probably noticed the small ditch created where two sections are sewn together and then opened flat. Quilting in this ditch accentuates the piecing and helps make the sections pop.

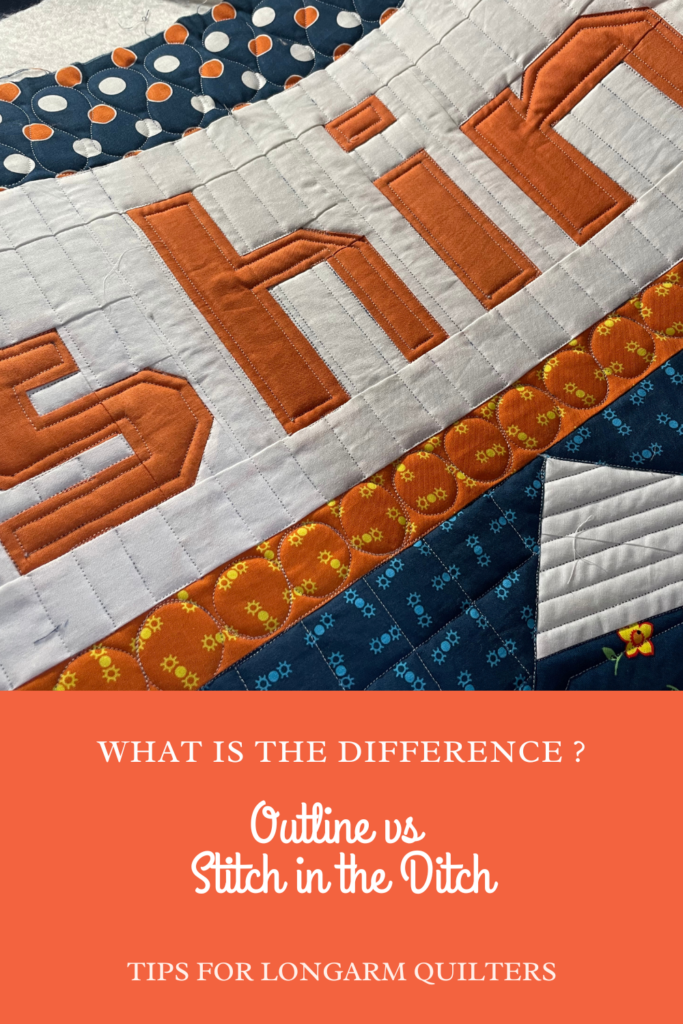
If you would like true stitch in the ditch quilting on your quilt it is best to press your seams to the side. When seams are pressed open, the ditch is merely a  gap with threads connecting two sides. There is no fabric underneath to stitch into. 

When custom quilting I often stich in the ditch around every seam, or most every seam depending on the quilt design. I also use the “ditch” to hide stitching as I travel from one point to the other. If you are able to stitch exactly in the ditch those stitches often times are nearly invisible because they sink into the quilt. 

Outline is a common word used in many facets of life. And most often to outline something means to draw, trace, or define the outer edge or shape of something. When we use the word outline in quilting it refers to stitching that is 1/4″ away from the seam. This quilting is most often 1/4″ from the outside of a design, but can also be 1/4″ inside the design or both. In the video you will notice the outline quilting done here is on the inside of the pieced letters.

Most quilting feet have a 1/4″ gap between the outside edge of the foot and the needle. This allows the quilter to follow the edge of the seam or applique piece with the foot and create a 1/4″ spacing. I most often times use a ruler, placing it right on the seam to create a perfect 1/4″ outline, or inline stitch. 

In many quilts I will use both stitch in the ditch and outline quilting. When combined they create a a professional custom look. I always use a ruler when I custom quilt. You can buy my favorite ruler HERE

Leave a Comment

Your email address will not be published. Required fields are marked *