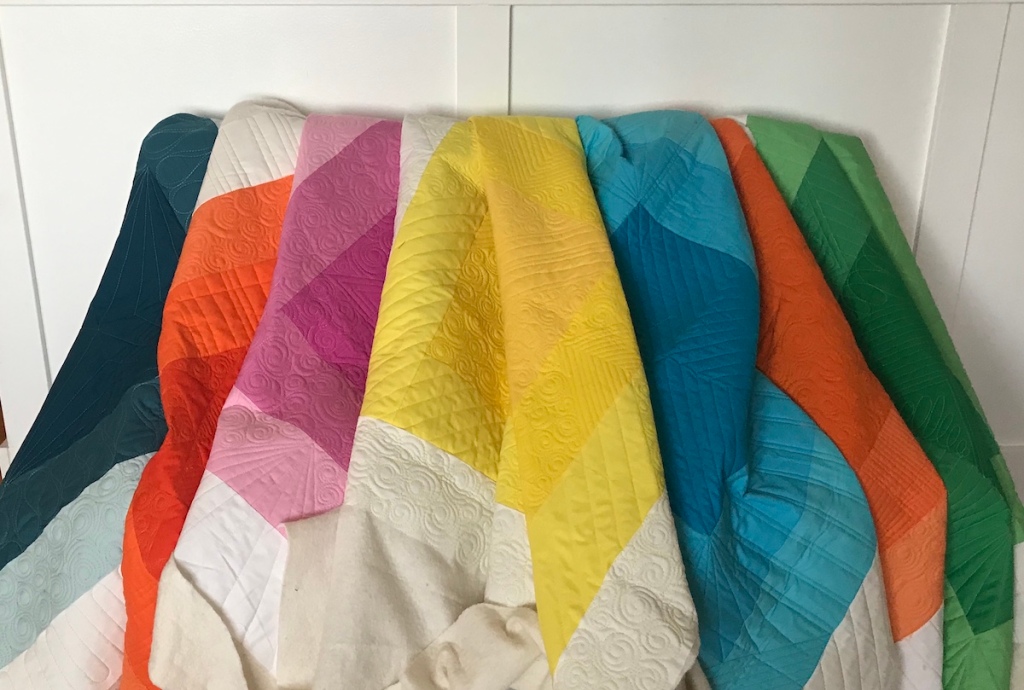
Recently I was sent a whole family of baby quilts. A rainbow family to be exact and I absolutely loved the opportunity to add quilted detail to these simple and sweet baby quilts.
It’s rare that I get sent seven versions of the same quilt at the same time. Ok, I admit, maybe this is the only time it’s ever happened, but was a perfect chance to challenge myself to quilt the same style of quilt in different ways. The possibilities with this simple quilt design are endless, and the open space begs to be filled with creative quilting. The most difficult part of this project was deciding which of my ideas to use.
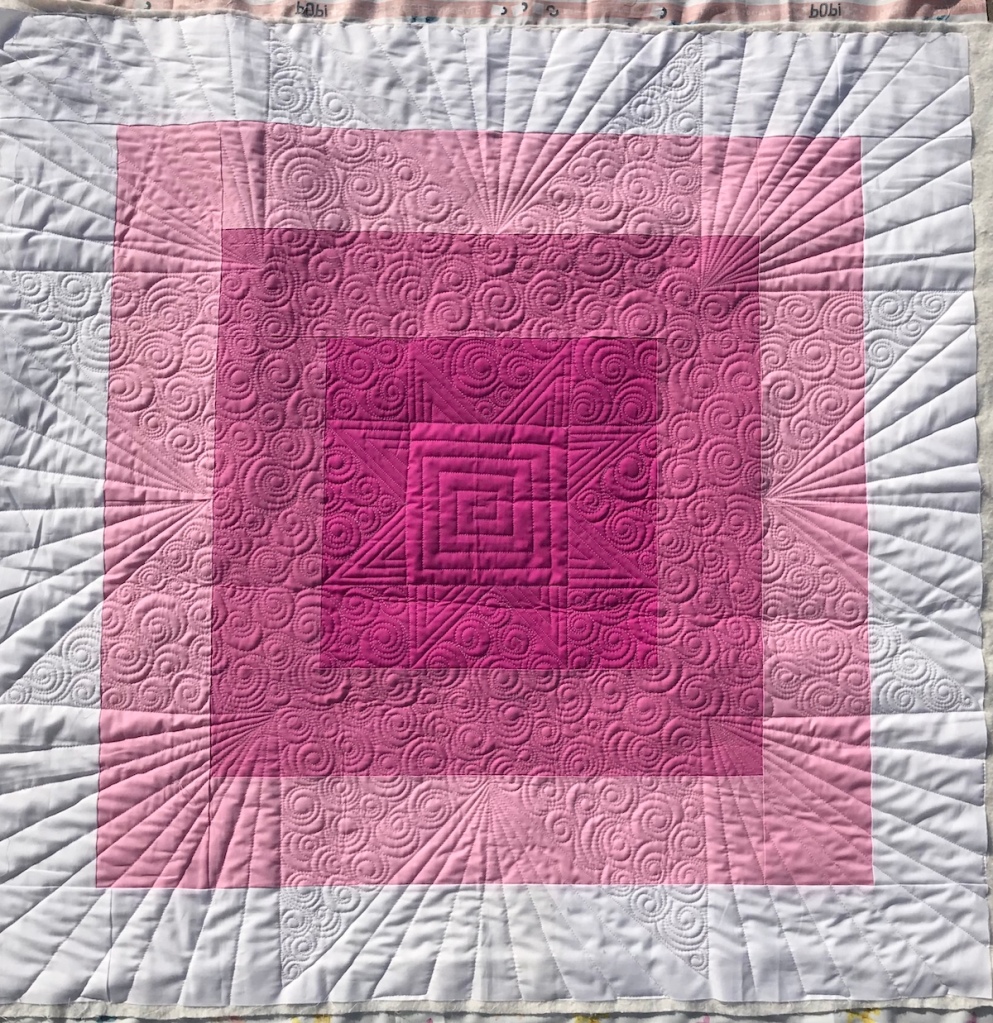
First up is the pink version. I divided the center section in equal quadrants, and then in half again leaving me with 16 sections. My idea was to put a saw tooth star type design in the center and then radiate various designs out from the middle. The second section from the center I considered the background and filled with spirals, my personal favorite. I used radiating diagonal lines in the outer section to enhance the star design.
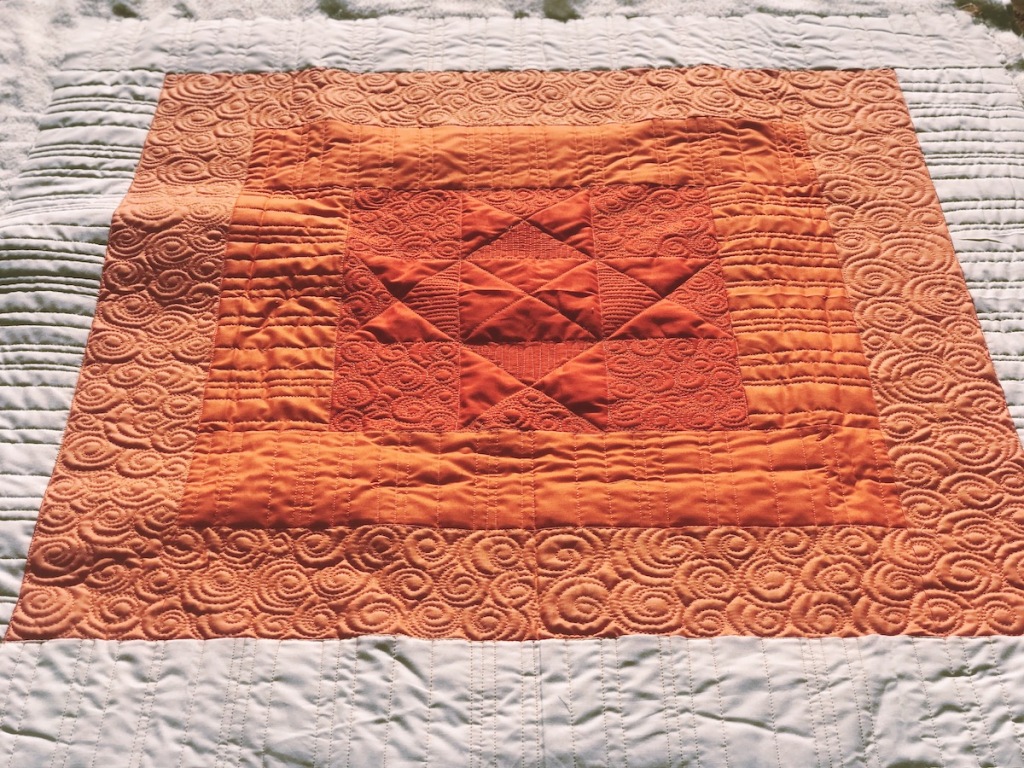
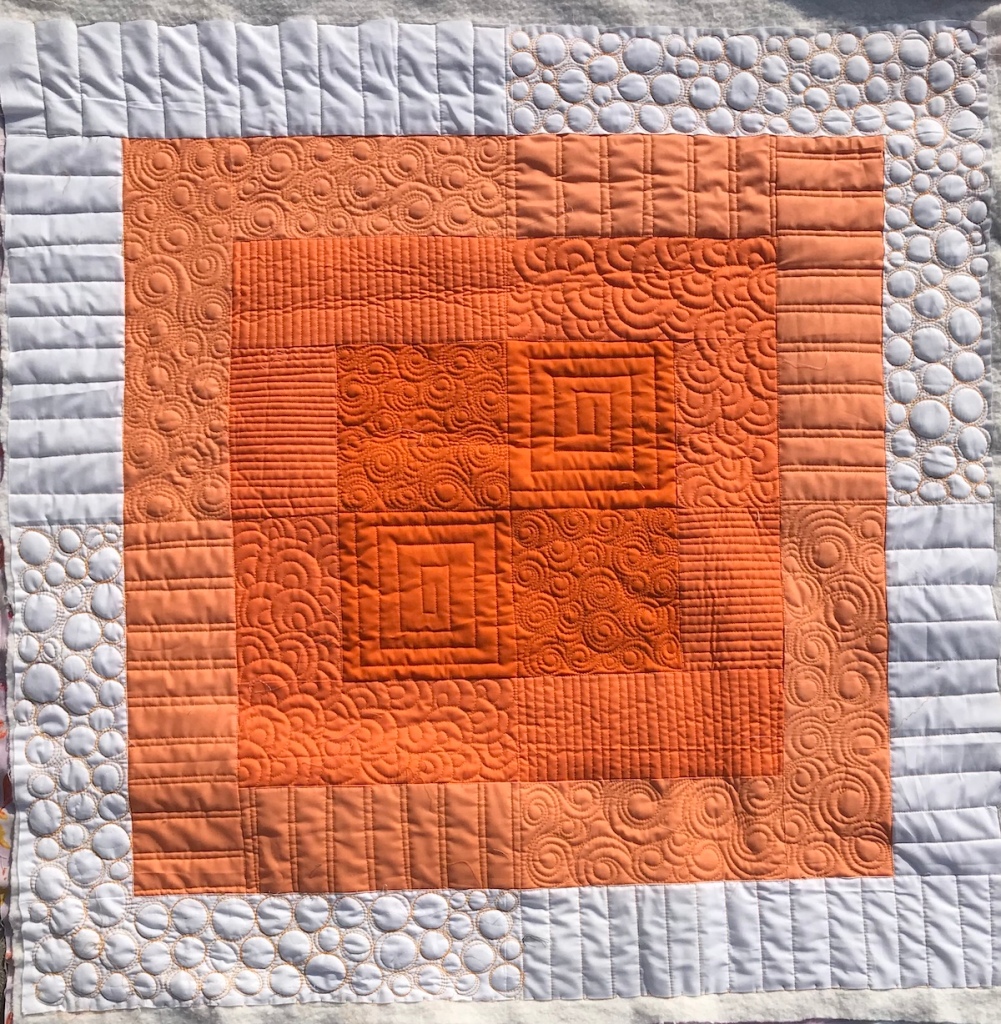
I liked the center star idea a lot but decided on a different star for this orange version. The center star here mimics and Ohio star design. Notice the larger spaces of the star were left un-quilted and surrounded by more dense quilting. The contrast in texture makes the star pop! I also alternated more dense spiral quilting and less dense straight line quilting in the borders. Marking even lines on quilts is not my favorite thing to do, so instead I quilted the straight lines at random widths, and I love how it turned out!
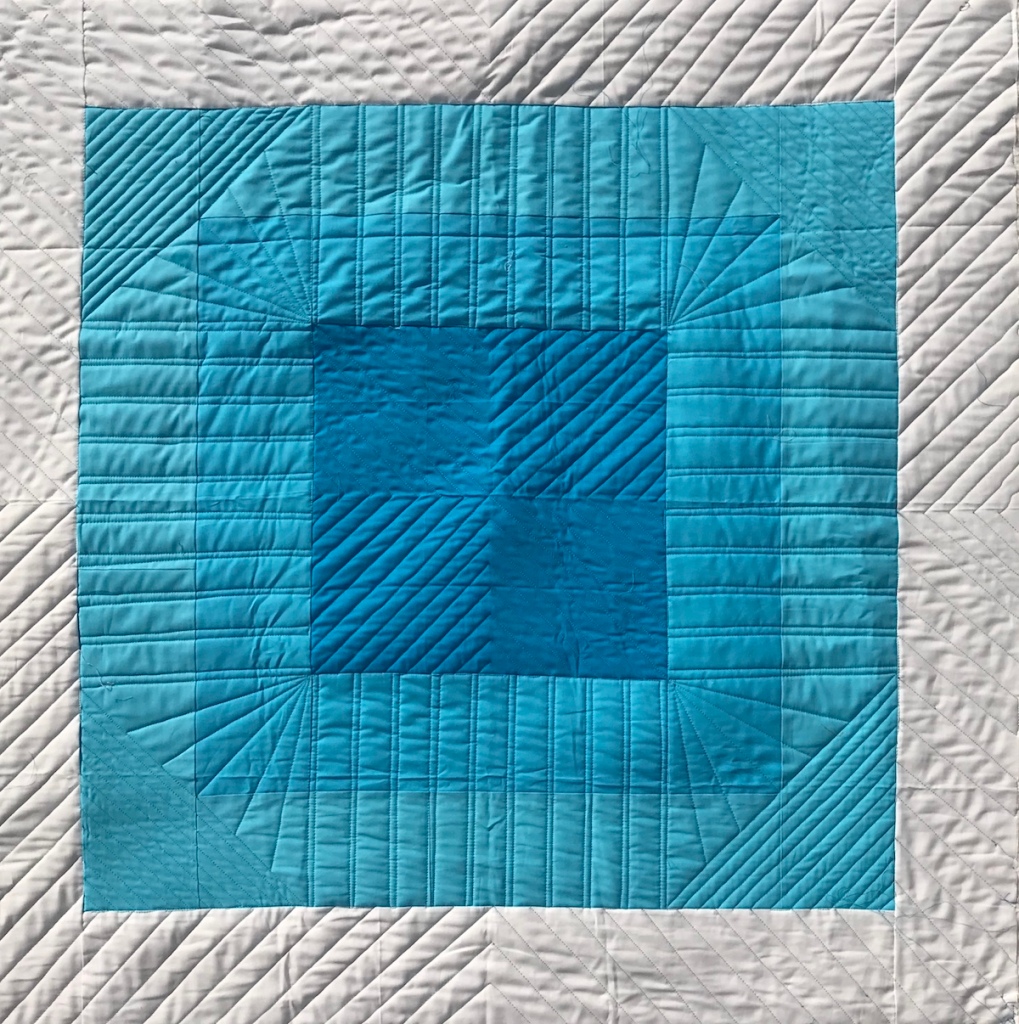
Sometimes all you need are simple loops and diagonal lines. That is it. This quilt did require just a little marking to get the triangles lined up. I love how the dense diagonal lines in the center section create and X effect. The borders were filled with simple straight lines that radiate in the corners.
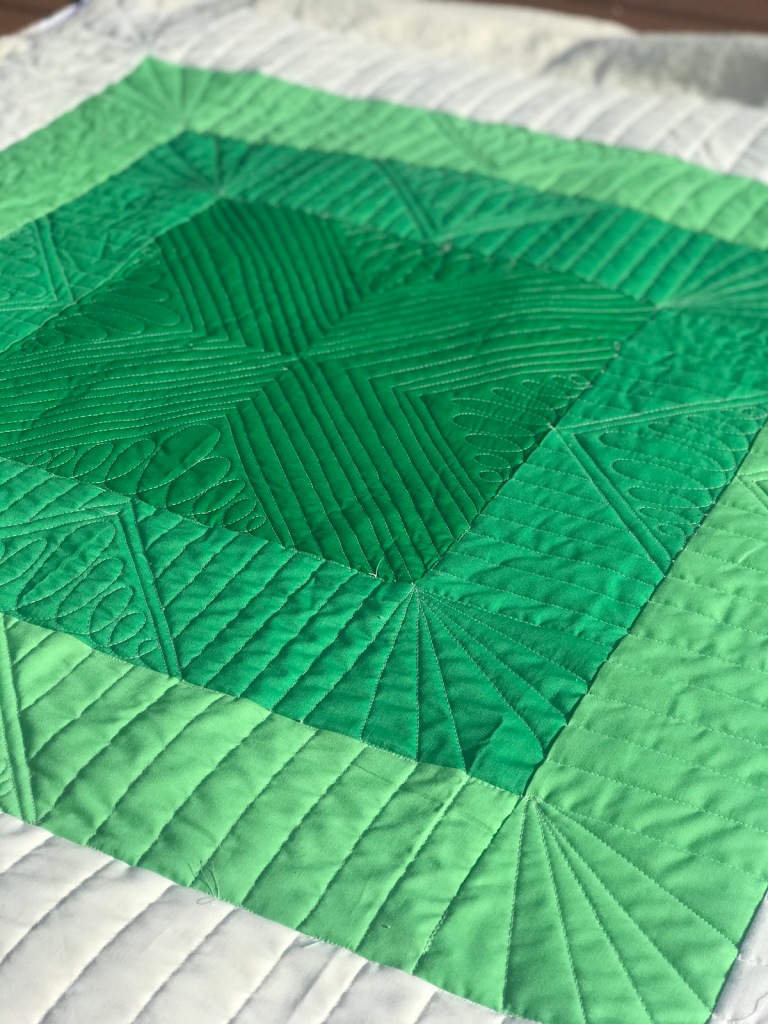
Straight lines only on this blue quilt. There are endless designs you can create by changing line direction and spacing. This one has almost a churn dash look, do you agree?
Here’s another tip: use curved lines and straight lines to create contrast. I learned this from a class mate my freshman year of college and was mind blown. Hahahaha. And I’ll let you in on another little secret: I was worried about matching those diagonal lines in the yellow sections. Instead of not being able to make it perfect, I changed the density of the lines.

Here you can see that I used colored thread! I actually used a light shade of thread for each quilt in a corresponding color. This quilt is broke into quadrants and quilted with opposite designs in each section. Notice how I used curved and straight lines again?
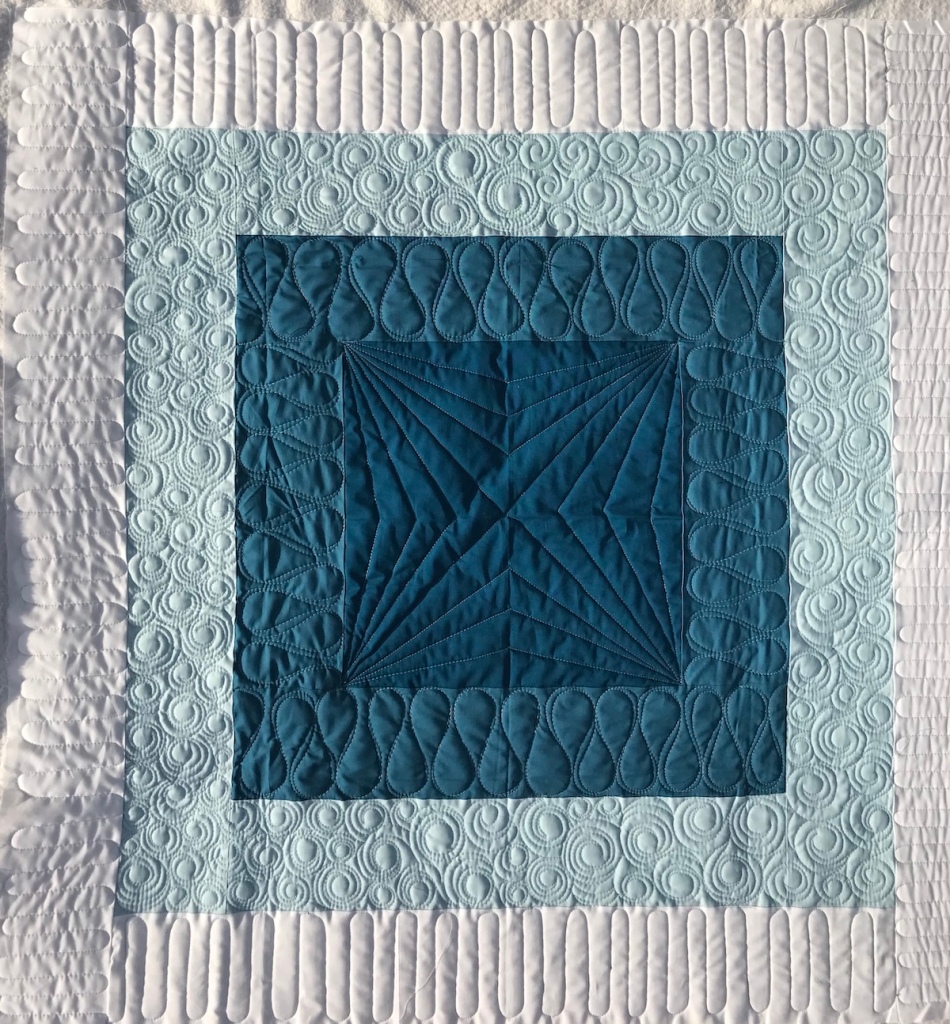
I believe this dark blue quilt is the last of the seven to get quilted. I had tried pushing the envelope on the others but for this one I went back to my roots. Not only was it the fastest to quilt but I may actually like it the best. It feels the most like my style. There is a lesson to be learned there. 😉
I would love to finish off one of your quilts with custom quilting! Follow the links below for more details.


Great job on the rainbow quilts! The blue quilting is my favorite. I wish you wrote Longarm quilting files for this that are not artist! I love the the father loops that create a dot . And your swirls are always so cute! I did not know you had the blog, glad i found it. I downloaded the Apple pattern, Thank you!
So glad you found me here!