


When fall arrives it brings out the nesting instinct in me. I start craving soup for every meal, baking moves to the top of my to-do list and suddenly I feel it’s time to cozy up the house with new textures and smells.
While I love holiday decorating, I don’t enjoy how quickly the seasons come and go. One moment I am getting out fall decorations and the next moment I am putting them away again. Over the years I have tried to streamline my decorating to last a little longer than a one month holiday period. That’s why this fall I found myself making this cute acorn pillow!

I’m using my Silhouette cutting machine to cut out the acorn shapes, which makes this project come together in a breeze! Run to your stash and find a few squares of fall colored fabrics and lets get going on this acorn pillow.
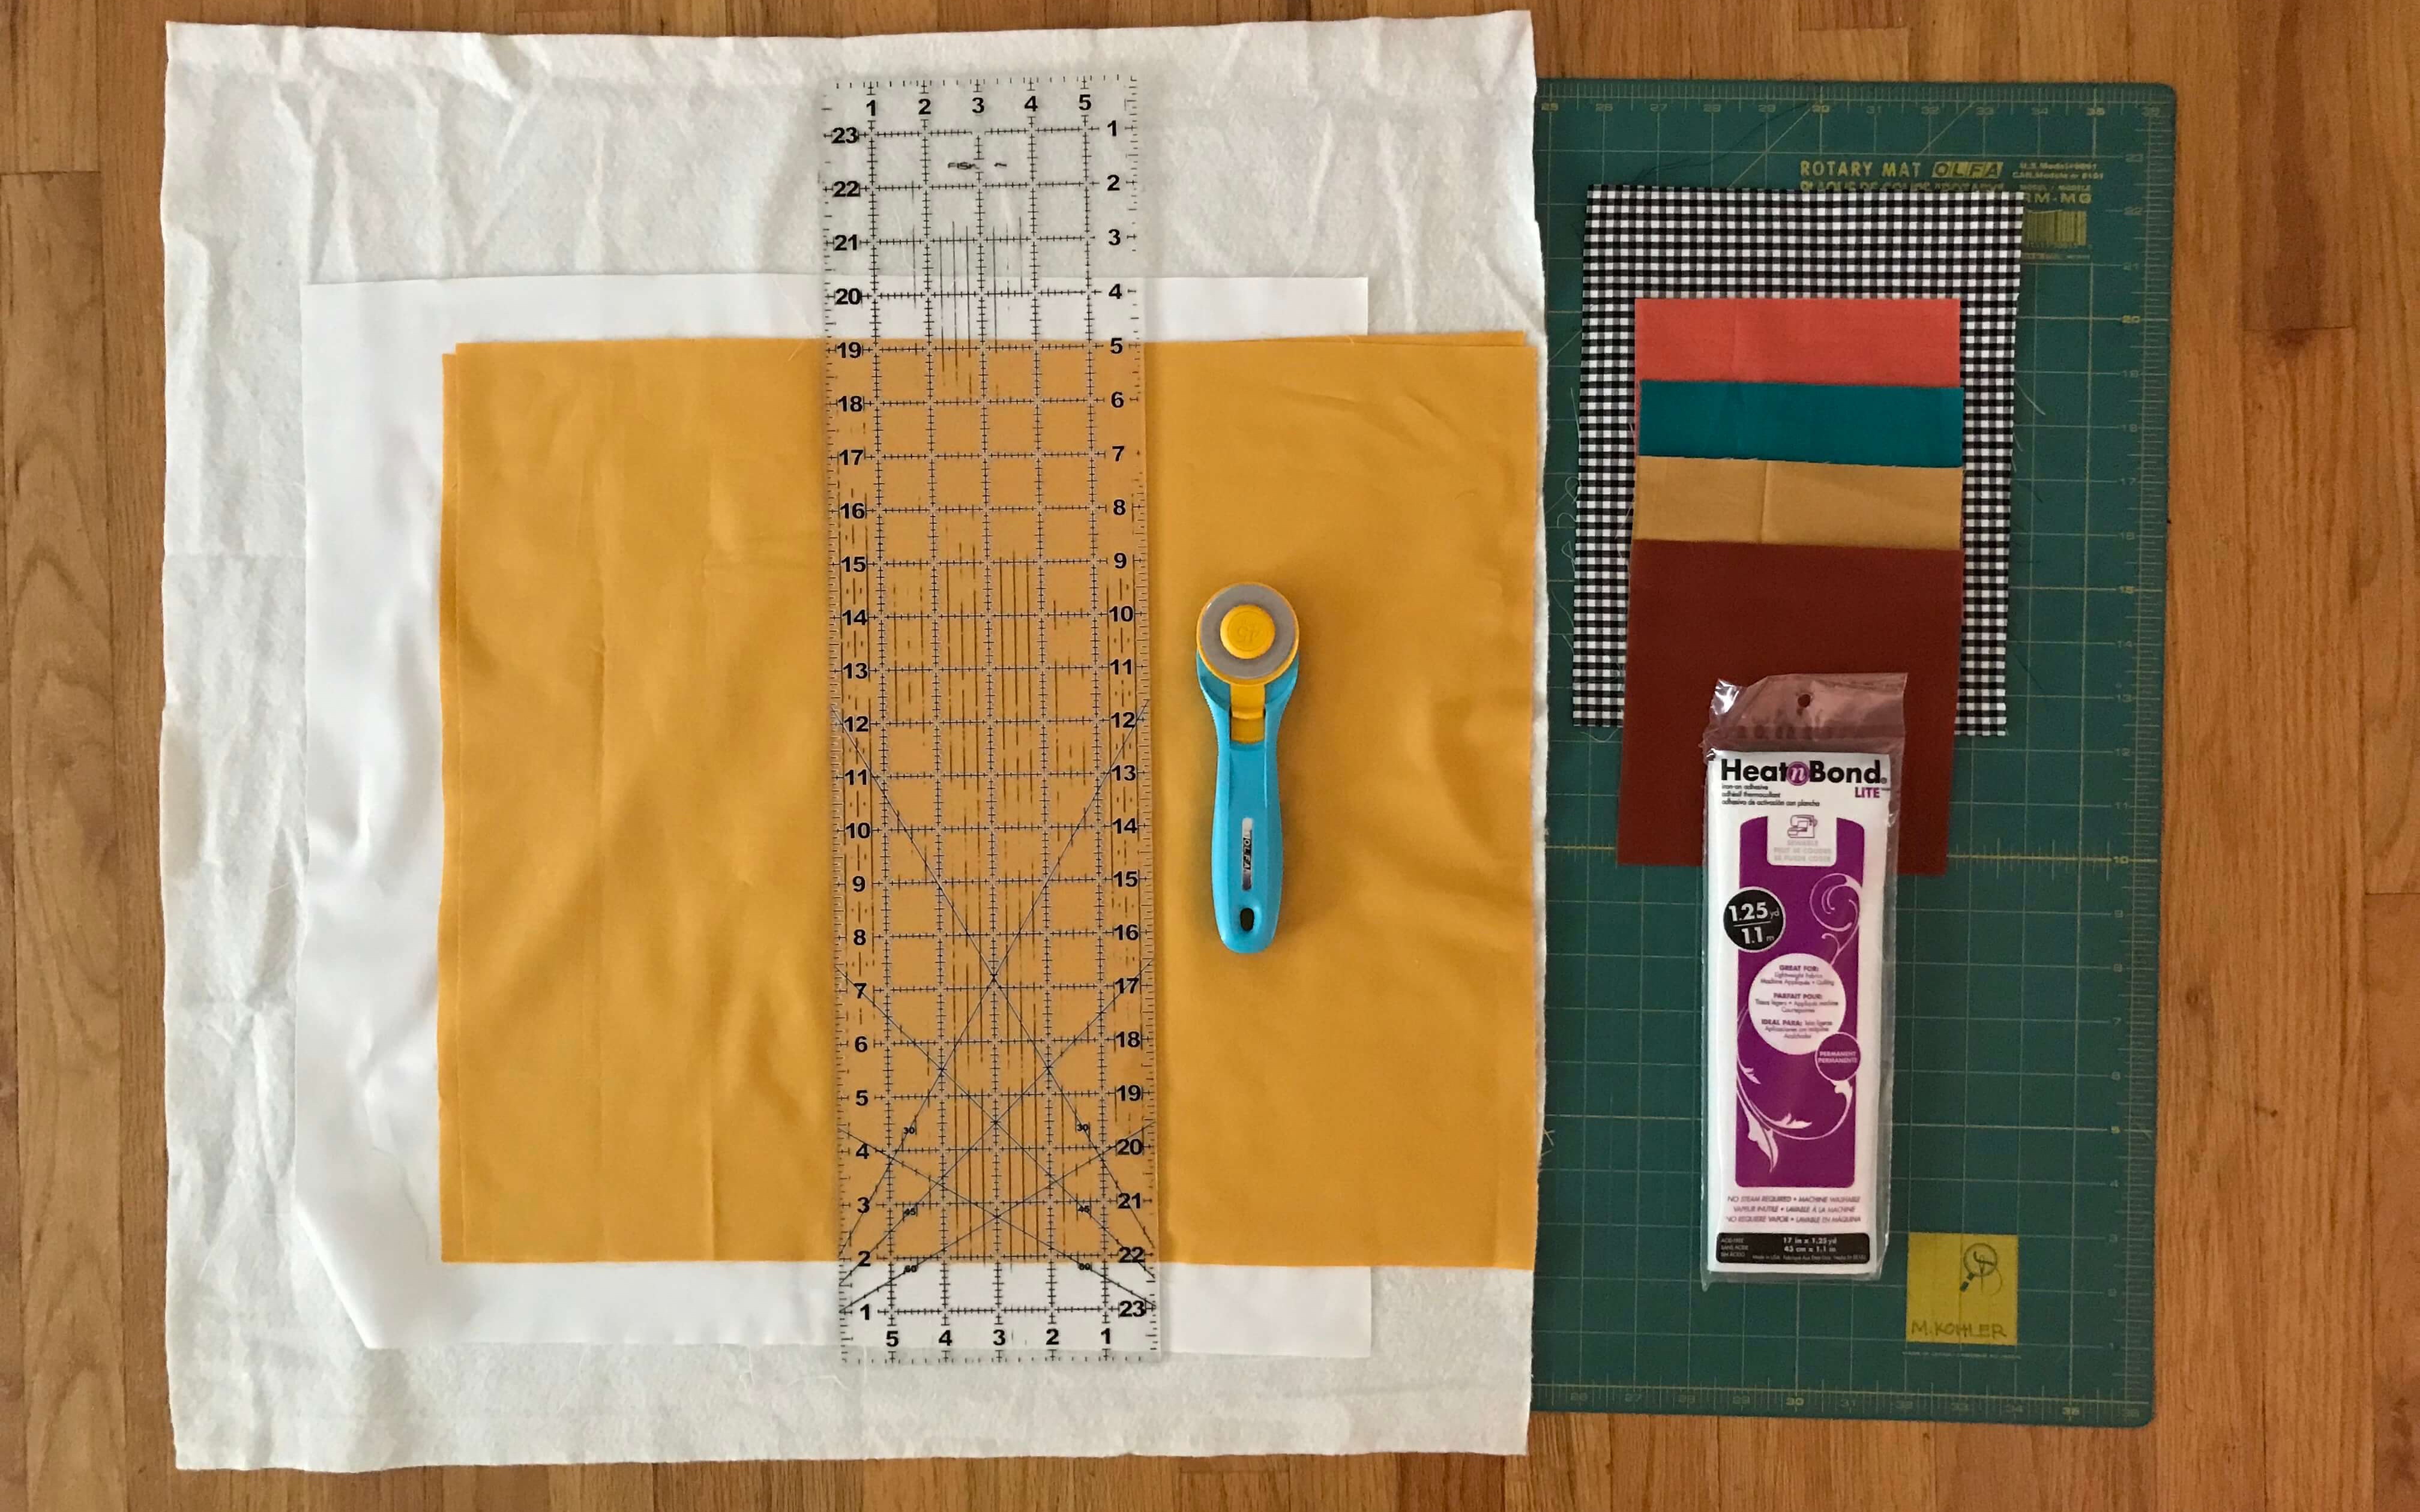
Tools and Supplies:
- Basic Sewing Supplies including: A cutting mat, ruler, and rotary cutter; A sewing machine and thread; scissors, iron and ironing board
- Optional: Silhouette Portrait, Cameo, or Curio with cutting mat and fabric blade
- 20″ square of white fabric for pillow front
- 24″ square piece of batting
- (2) 20″x16″ rectangles of fabric for pillow back, I’m using a goldenrod color.
- (4) 5″ squares of fall colored fabric for acorn bottoms
- 8″x10″ rectangle of fabric for acorn tops
- 1 package or about 1/3 yard of fusible webbing, I used Heat and Bond Lite
- Air, water or heat erasable marking pen, I’m using a pink FriXion pen.
- Pattern Piece found HERE or Silhouette design ID# 23072 or
Preparing Fabric for Cutting
- Cut four pieces of fusible web 4.75″x4.75″ and iron to the back of your 5″ squares of fabric.
- Cut one piece of fusible web 7.75″x9.75″ and iron to the back of your 8″x10″ rectangle.
- Be sure to follow the manufacturers directions when ironing on the fusible web.

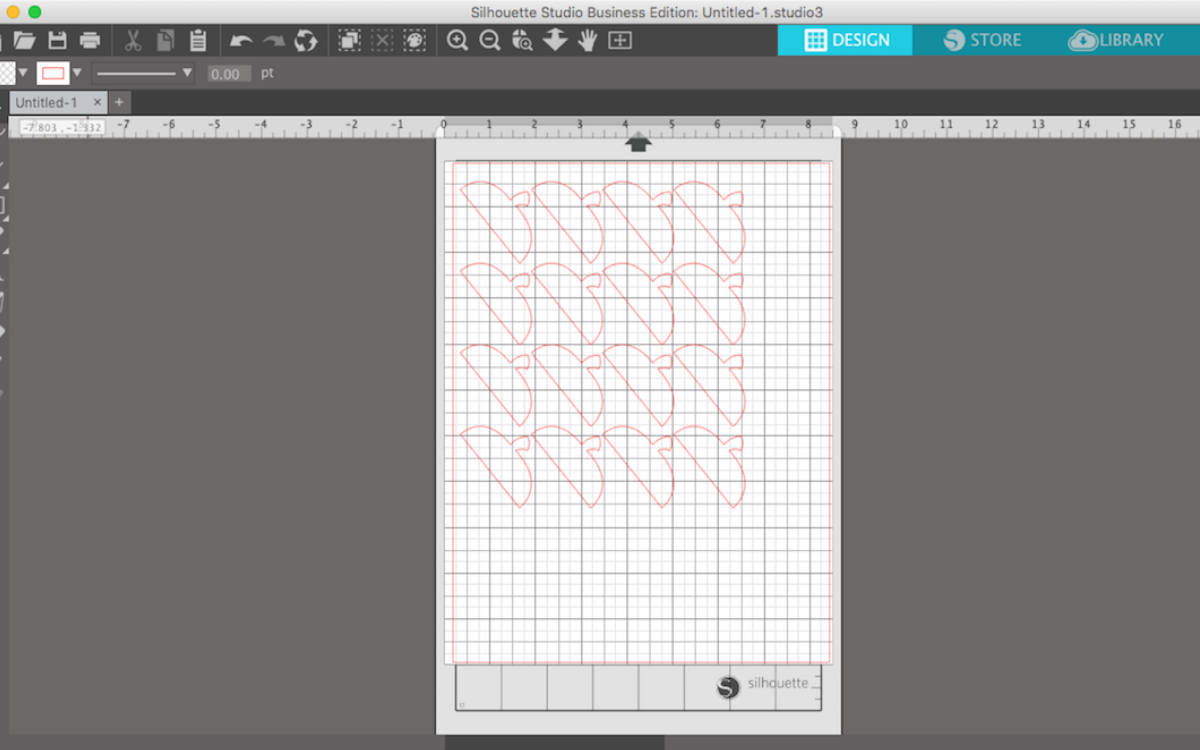
Setting up in Silhouette Studio
- Open the acorn design in Silhouette Studio
- Select the design and choose UNGROUP
- Delete the crosshatch shapes
- Move the acorn top off of the cutting mat to the holding area
- Move the acorn bottom to the top left of the cutting mat. Make four copies of the acorn bottom and arrange them in the top left 5″ of the cutting mat.

- Using the drop down menu of the Send panel, choose “Fabric-thin cotton print” as your material type.
- Change your blade length to five.
- Place one square of your acorn bottom fabric on the upper left corner of your mat with the fabric facing up and the fusible web on the sticky mat.
- Load and Cut.

- Carefully peel the fabric off of the mat. The paper backing may pull off of the fabric as you do this.
- Make sure to scrape clean any paper that has stuck to your mat.
- Repeat for each color of acorn bottom.

- Delete the acorn bottoms from the design page and drag the acorn top to the top left corner of the design page.
- I wanted my gingham print to lay diagonal so I rotated my acorn tops to 45 degrees. To do this, select the acorn top and use the green circle to rotate.
- Use the replicate menu to make 16 copies of the acorn top.
- Load the fabric to your mat and use the same cut settings that we used with the acorn bottoms.
Marking the Pillow Top
- We are going to mark the 20″ piece of fabric for the pillow top with a grid. This will serve as a guide for laying out the acorns.
- Start by folding your square of fabric in half horizontally and then vertically, making a square one quarter of the original size.
- Iron the square making center creases for guidelines.

- Now we will mark a 3″ grid using the creases as the center starting point. I am using my cutting ruler and a pink FriXion pen. You may also use an air or water soluable marker. I used a regular black marker in the photos so you could clearly see what I was doing.

- Mark a line 3″ and 6″ above the center seam you pressed previously.
- Repeat marking lines 3″ and 6″ below the center crease.
- Now mark lines vertically from the center crease at 3″ and 6″ on either side.
- You should have a grid with 16 squares.

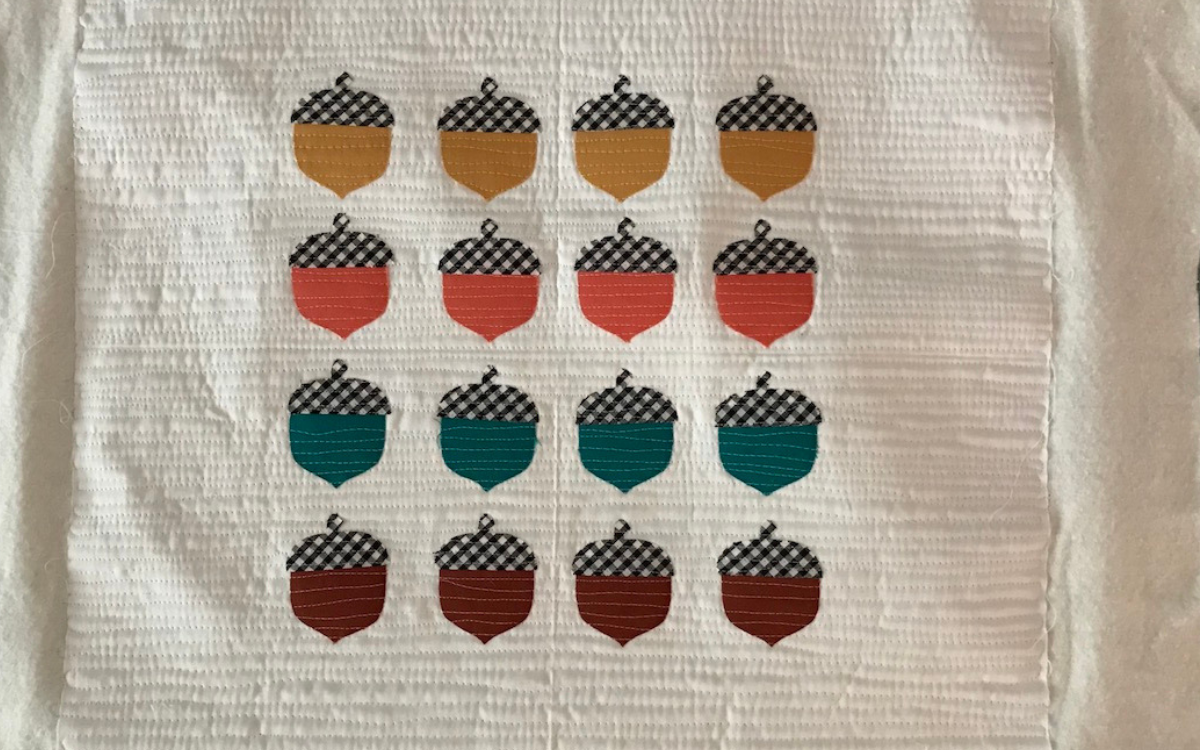
Attaching the Acorns
- Remove the paper backing from your acorn pieces.
- Center one acorn bottom and top in each marked square.
- Iron the acorn pieces to the pillow. I started with the top row and moved to the bottom, making sure not to erase the lines on the next row as I went.
- Remember to follow the manufacturer’s directions on your fusible web.

- Make a quilt sandwich with your pillow top and batting. You could use muslin here also as a backing, but I find just the batting works fine.
- Quilt organic straight lines about 1/8″ horizontally across the pillow top making sure to catch the edges of the acorn fabric.
- Alternately you could hand or machine applique the acorn pieces at this point if desired.
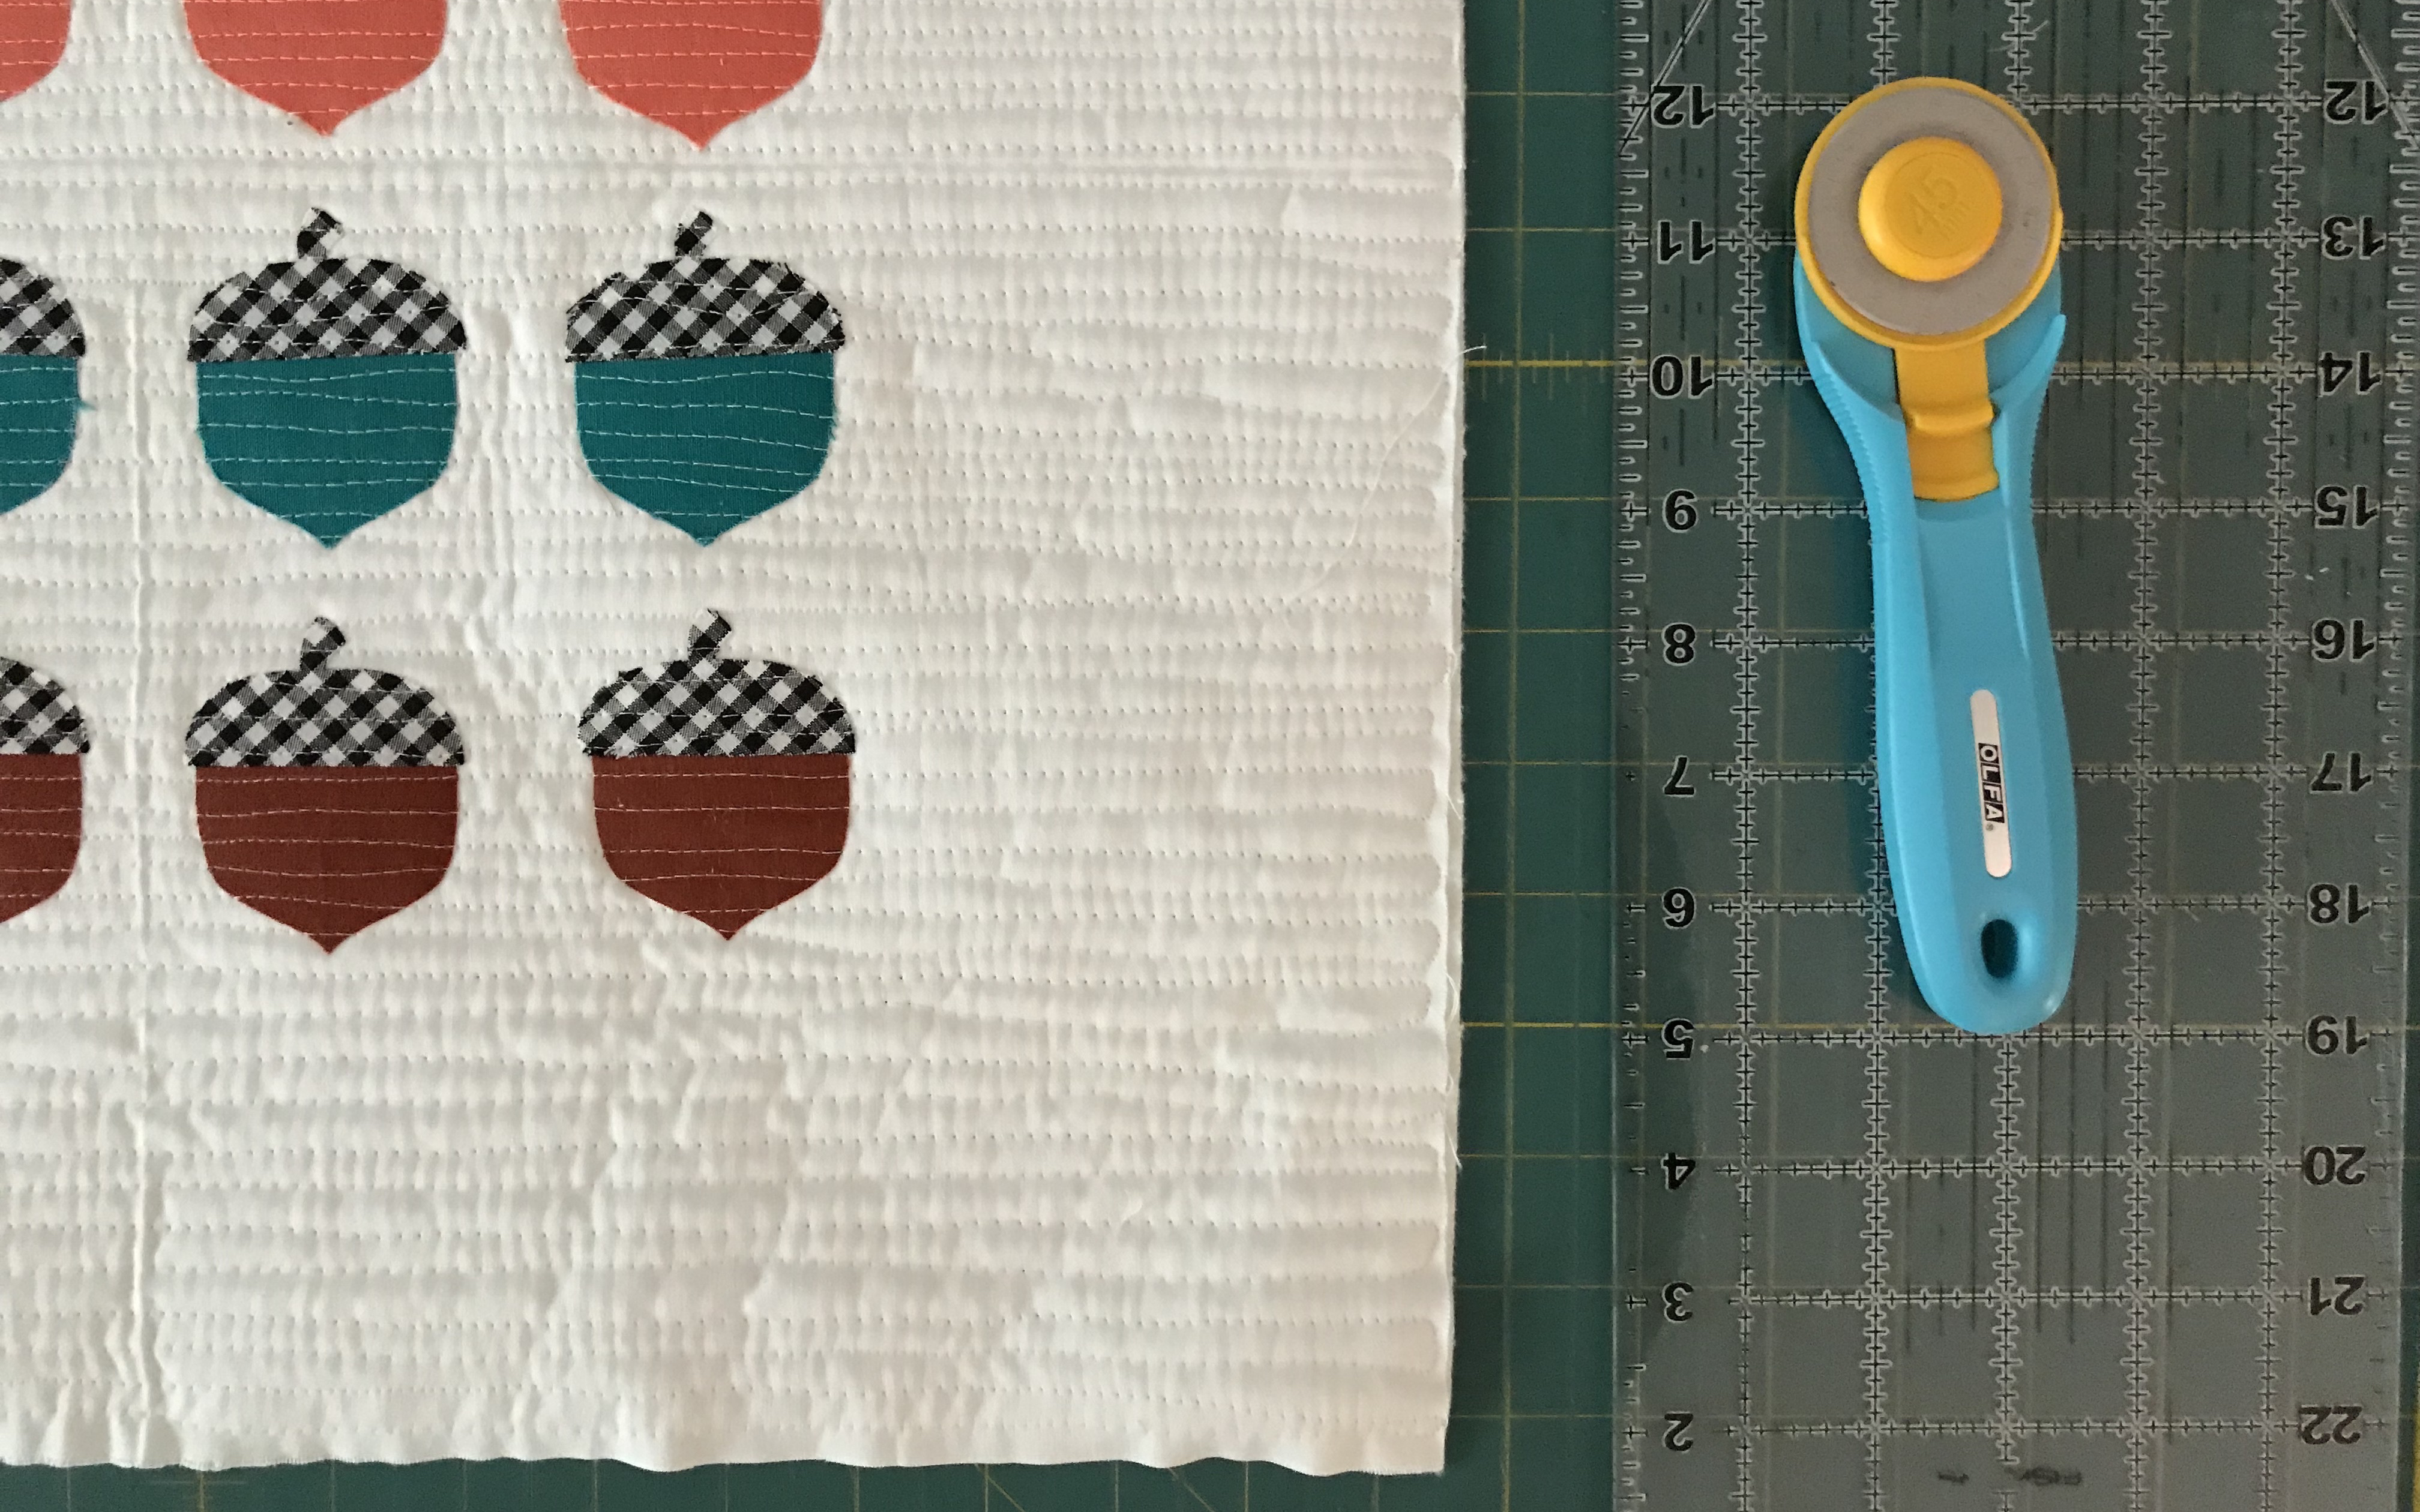
- Trim the batting from the pillow top leaving a 20″ square.
Assemble the Pillow
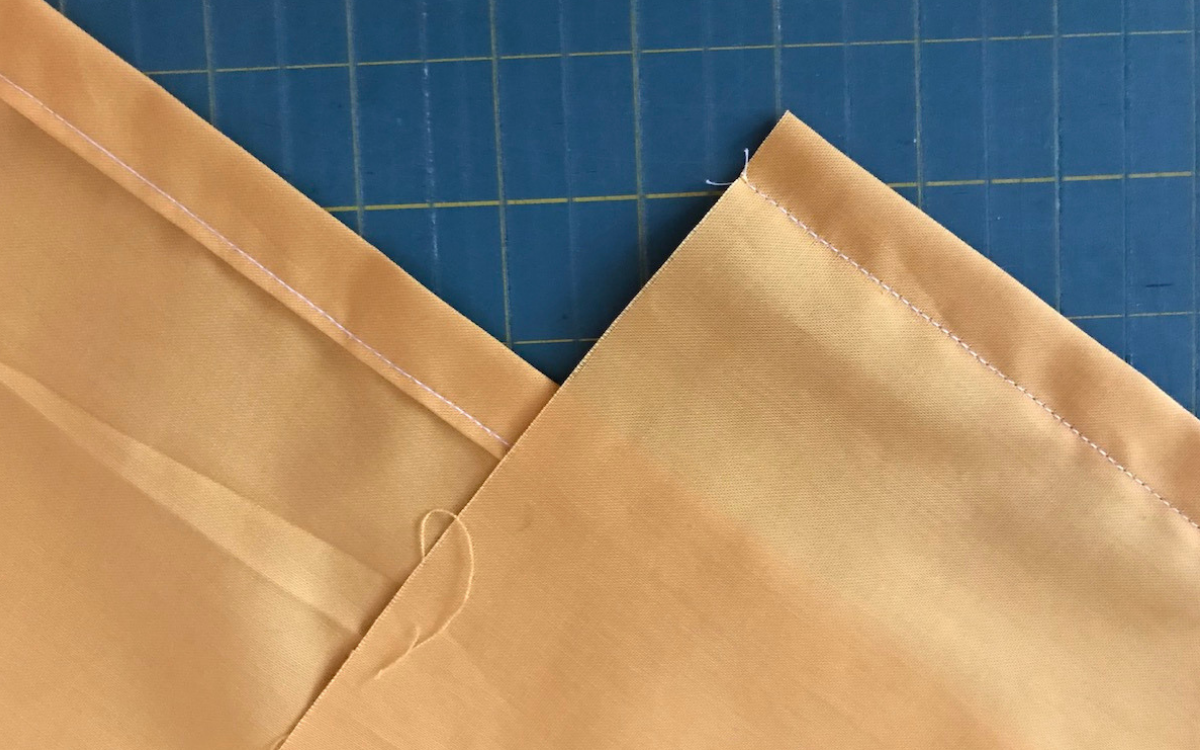
- On each pillow back piece, fold over one 20″ edge and iron a one inch hem.
- Fold over and iron again to create a double hem with no raw edges.
- Sew a seam about 1/8″ from the top of the hem.
- Lay the pillow top face up.
- Pin one pillow back in place, lining up the raw edges and with the hem near the center. Pin the other pillow back to the other side. The hemmed edges should overlap making an envelope closure.
- Sew around all four sides using a 1/2″ seam allowance

- Trim your corners and turn right side out.

- Press the seams for a finished look.
Hooray! It’s a great feeling to finish a project!
