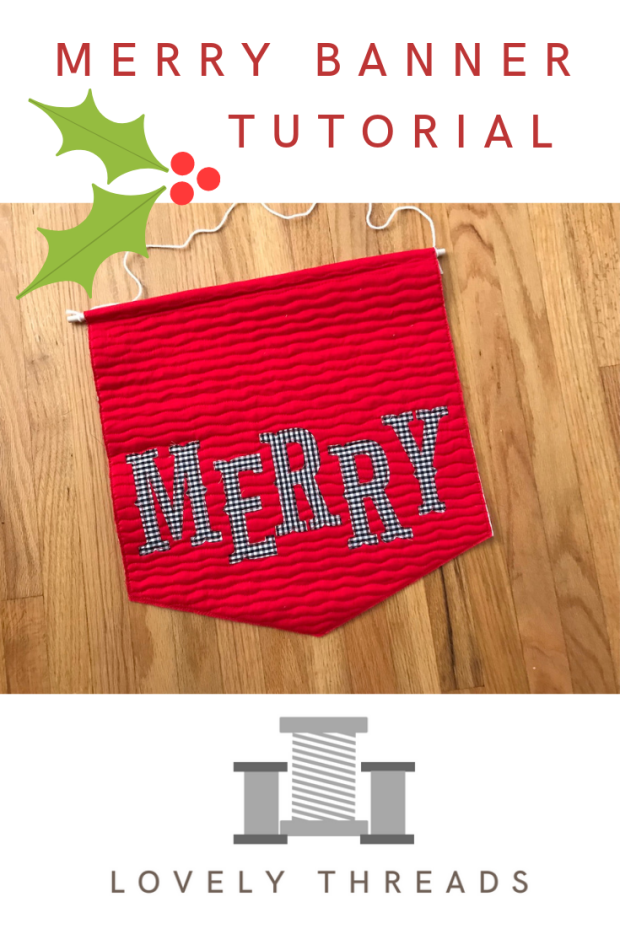
Christmas time is here which means we are all hustling and bustling around checking off our to-do lists. If you are like me, there are a lot of handmade projects that I am dying to make but there isn’t a lot of extra time for to make them. This MERRY banner is a perfect addition to your Christmas decorating. It is simple enough that you can make multiples to give to teachers or neighbors. You can even customize it to your own liking by changing colors and fabrics, and even mixing up the MERRY to a festive JOY or NOEL.

Supplies
- Silhouette CAMEO®, or Silhouette Portrait®, Silhouette Curio™
- Silhouette Cutting Mat
- Silhouette Fabric Blade
- Font LD Petticoat Black Design ID#8732
- 1/2 yard solid red fabric
- 1/4 yard or one fat quarter black and white check fabric
- One scrap of batting about 22″x24″
- One package of fusible web, I am using Heat and Bond Lite
- Pen or fine tip marker
- 3/8″ dowel cut to 19″
- Twine, yarn, or jute for hanging
- Basic sewing supplies including, scissors, iron, matching thread, pins or wonder clips, cutting mat, ruler, rotary cutter and sewing machine

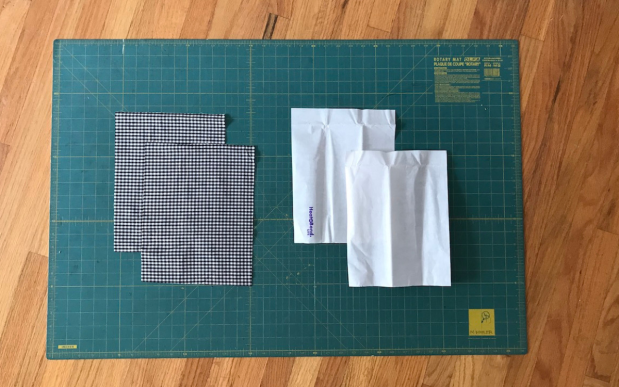
Prepare Fabrics for Cutting
Because I am using the Silhouette Portrait, I cut two pieces of Fabric 8.5″x11″ and two pieces of fusible web 8.25″x10.75″
If you are using the Cameo you could cut one piece of fabric 12″x12″ and one piece of fusible web 11.75″x11.75″
Iron the fusible web to the back side of your fabrics. Follow the manufacturer’s directions. For best results leave the paper backing on while cutting with your Silhouette.
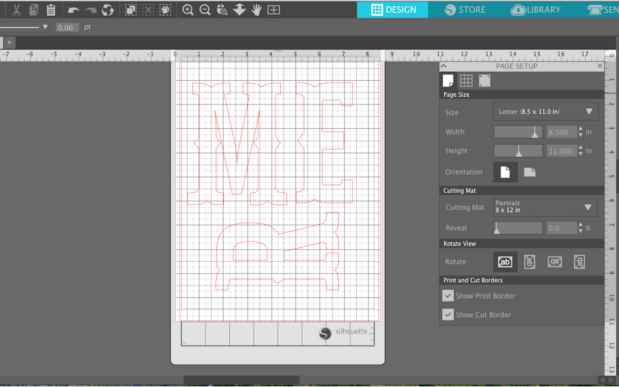
Cut Letters from Fabric with Silhouette
Open Silhouette Studio. Select the Text Tool and Type the letter M. Change the font to LD Petticoat Black and change the pt to 600. Repeat with the letter E and R. Add the letters individually so you can move them around the cutting mat and squeeze them into the cutting area.
Using the drop-down menu of the Send panel, choose “Fabric, Thin (Cotton Print)” as your material type. Change your blade depth to five (and adjust your blade accordingly if you’re not using an AutoBlade).
Place one sheet of fabric backed with fusible web to cutting mat facing up and the fusible fabric stabilizer side on the sticky part of the mat.

Load the cutting mat into your cutting machine and click Send in Silhouette Studio® to cut the design.
In Silhouette Studio switch back to the Design Tab. Delete the letter “M” and “E”. Add a letter “Y” using the same font and size previously used.
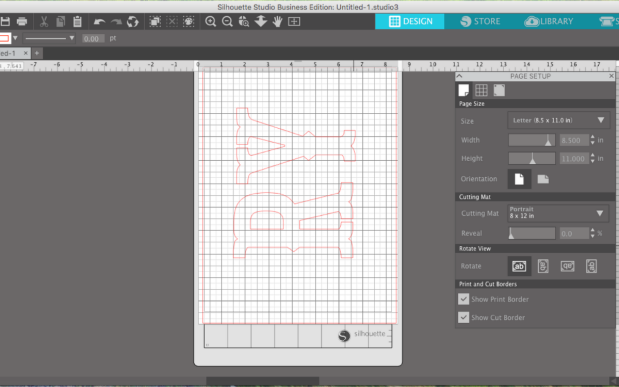
Send to Silhouette and make sure your cut settings have not changed. You may now remove the paper backing off of the letters. Set letters aside while you make the banner.
If you are using the Cameo you should be able to fit all of the letters in a 12″x12″ cutting area.

Make the Quilted Banner
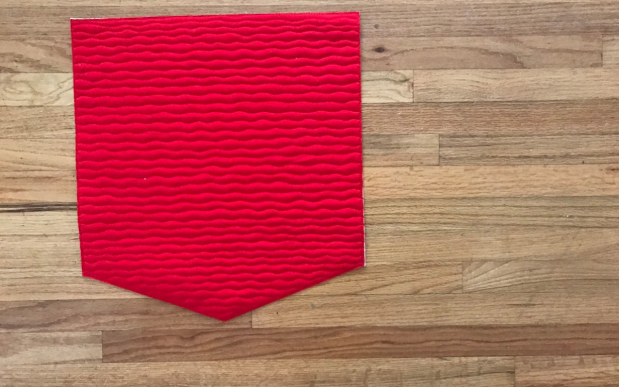
From the red fabric cut a piece of fabric 18″x20″ for the front and one 22″x24″ for the back.
Cut a piece of batting just bigger than the 18″x20″ piece of fabric. About 20″x22″ is perfect but it doesn’t have to be exact.
Now we are going to mark the point on the bottom of the banner. Lay your banner front piece on your cutting mat, lining it up with the grid. Make a mark 3.5″ from the bottom on each side and a mark in the middle of the bottom. Connect each mark on the side to the point in the center. We will be cutting this line off after we quilt so you do not need to use removable ink.

Make a quilt sandwich with your backing, batting and front piece that you just marked.

Quilt as desired. I am using my long arm quilting machine to quilt simple wavy lines, but this is a great project to try out new free motion quilting designs on due to it’s small size.
For simplicity, we are going to leave the raw edges on this project. Because of that I like to quilt a few lines all the way around the edge of the project to minimize fraying and to lock the stitches of the quilting in place.

After you have completed quilting, trim the project. Trim the top and two sides just at the edge of the banner top. Cut the bottom just inside the drawn lines.
Lay quilted banner on ironing board. Arrange letters as desired. I like to stagger my letters to avoid having to have a perfect layout.

Iron letters to quilted banner. Follow the manufacturer’s direction on fusible web packaging.

Applique Letters
Sew around the edges of the letters to secure them to the quilted banner. I use my long arm to raw edge applique them because it is easiest for me. You may to choose to sew around the raw edges on your domestic machine with a straight or buttonhole stitch. You could also sew them down by hand using your favorite applique stitch.

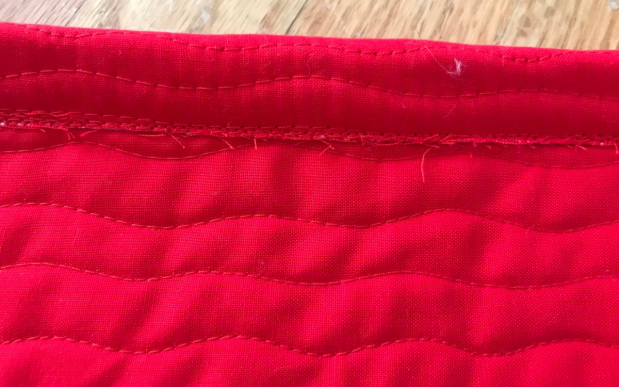
Make Casing
Lay banner on cutting mat, face down, aligning the top edge to the grid. Fold the top edge over one inch, using your mat as a guide and pin or hold in place with wonder clips.

Sew casing in place stitching about 1/8″ in from the raw edge. Be sure to backstitch as you start and end to secure the stitches.
Finish Banner
Feed dowel through casing. Cut a length of yarn or twine to the desired length. I cut mine about 36″. Tie one ends of yarn to ends of dowel using a square knot.

Hang your banner and enjoy it for the Holiday! It should be light enough to hang from a push pin. You might even consider using it on your front door instead of a wreath!